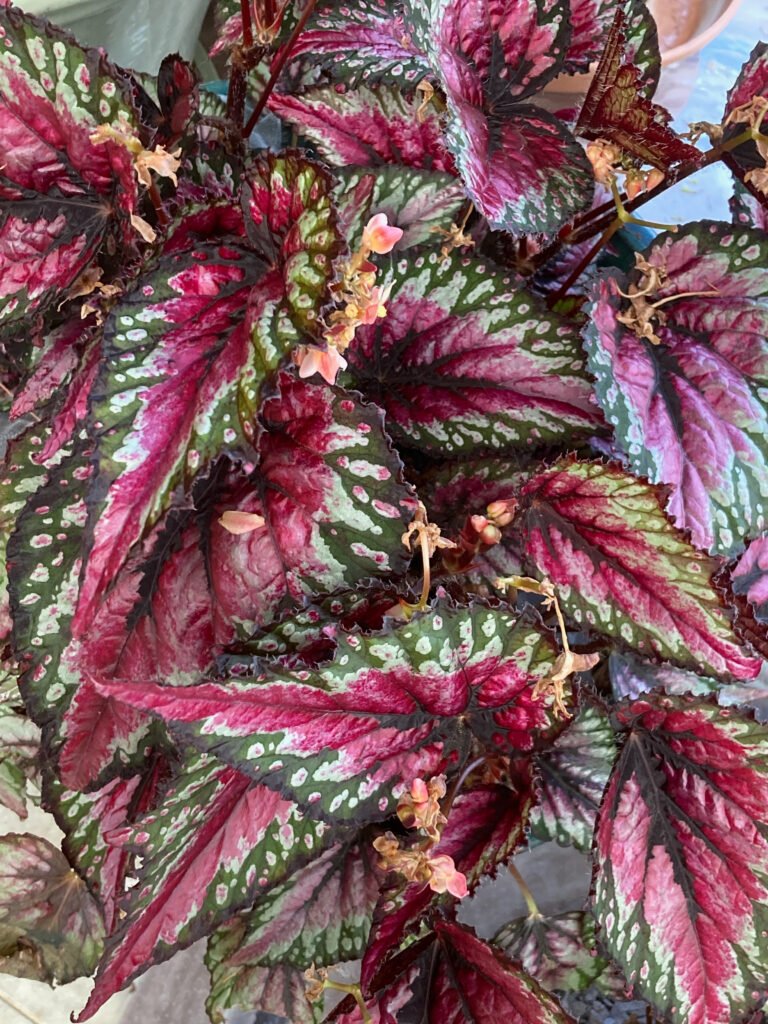
Come grow with me… How to propagate painted lady begonias
This is an absolutely stunning houseplant and maintains its colour throughout the year. I thought that I was going to lose this plant last year but was able to rescue the plant and now it is thriving. You can find the simple steps that I followed to rescue and divide this amazing plant on my website.
As a precaution I have decided to propagate this wonderful plant using my now healthy parent plant.
Initially I tried propagating the painted-leaf begonia by scoring the vein on the back of the leaf and placing it on soil but without success, although I did find numerous websites where others found this to be a simple way to propagate begonias.
I really love this plant and therefore decided to try propagating it using two methods that I am more comfortable with and which have been successful for me with other plants.
It is great that there isn’t one right way with plants and you can find an approach that works for you.
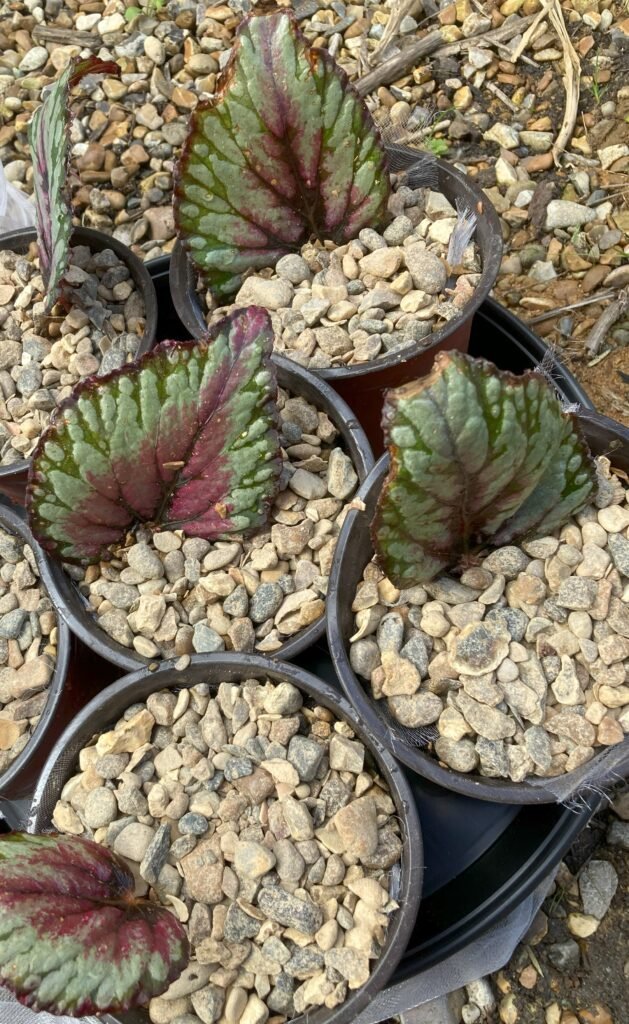
Propagation with soil
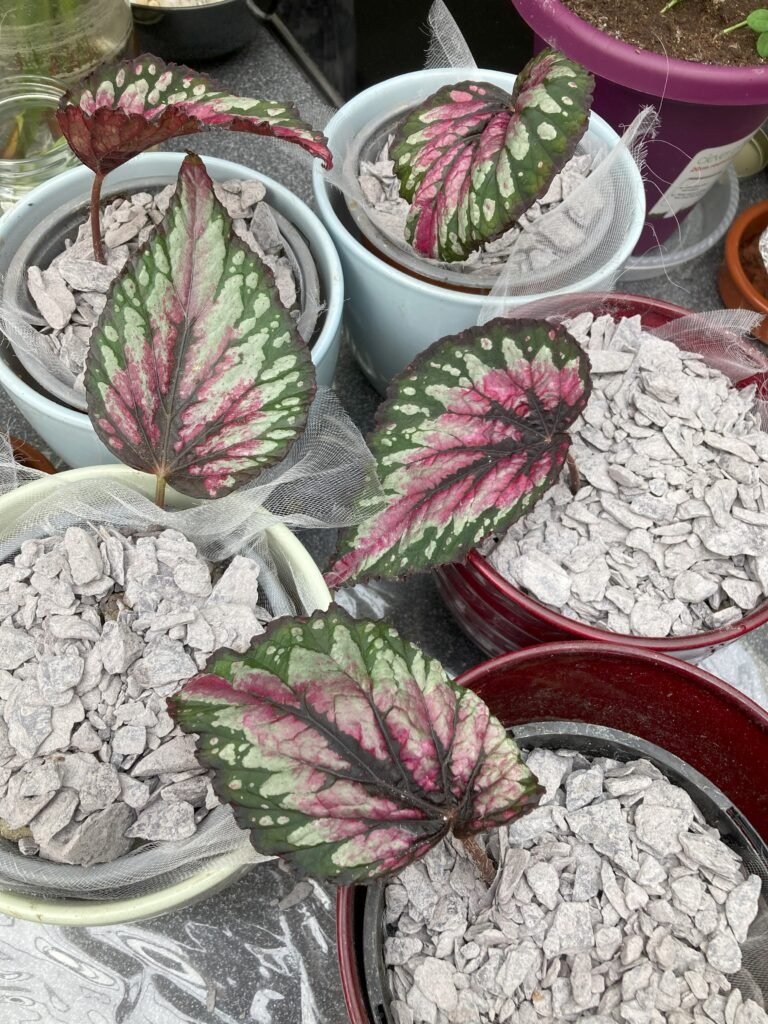
1. Prepare your pots (I am using plastic pots that will sit inside my ceramic pots). Add a layer of stones in the base of the pot to provide drainage. Add a soil mix of compost and top soil.
2. Cut a few leaves with a good length of stem. Note that it is important to select healthy leaves for this exercise.
3. Create a hole in the soil and insert the stem – push it about half way down the pot.
4 – Cover the top of the soil with some insect mesh. This is something that I am trying with all of my indoor plants in an attempt to keep bugs away from the soil.

5 – Add decorative stones on top of the insect mesh.
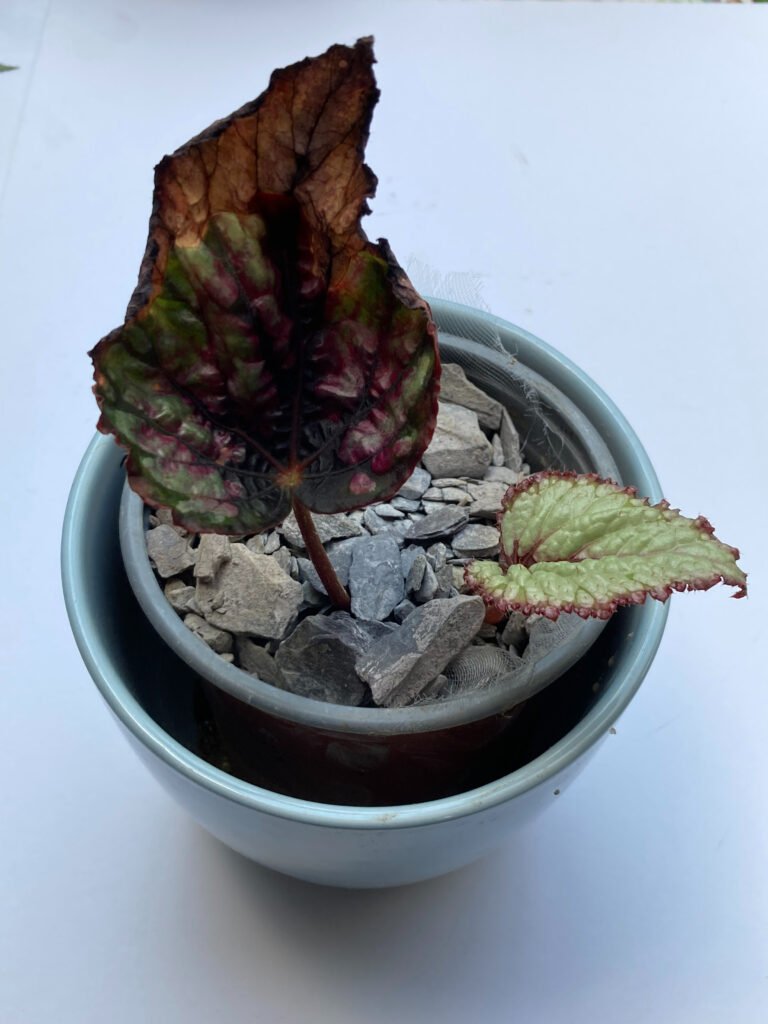
6 – Water and wait for new growth.
Useful tips :
a. The leaves may droop initially, mine did, but don’t worry, as long as you water them, it won’t be long until they perk up and start growing strong.
b. You don’t want the soil to be too wet therefore I use a small squirty bottle, and water sparingly around the base of the plant. Once the plant has rooted, I start watering the entire pot, being careful not to overwater it.
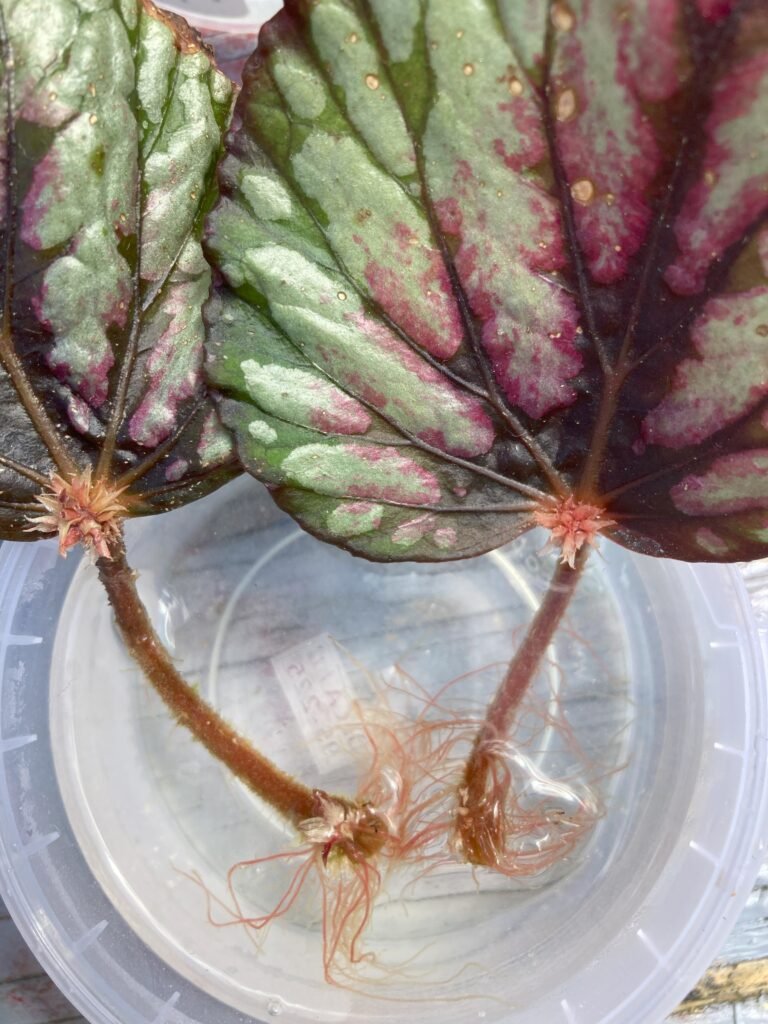
Propagation with water
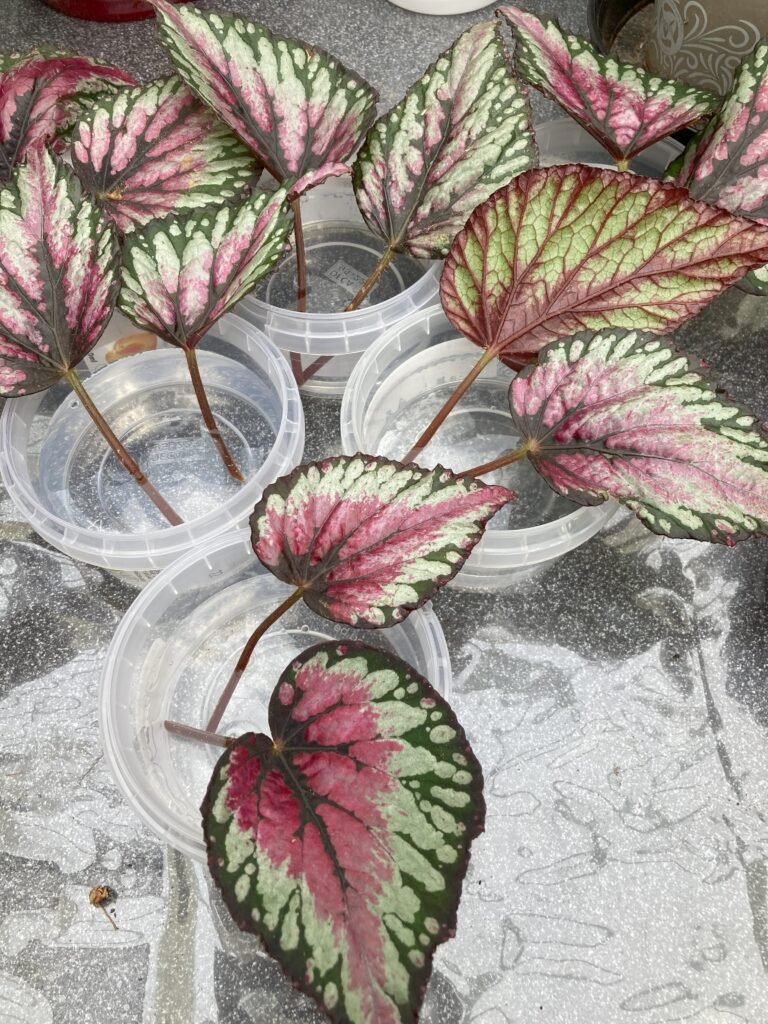
1 – Gather some containers (in this instance I am using old yoghurt pots but you can use glass jars or anything that you have to hand). I am using shallow pots but anything that will allow the stem to rest in the water whilst the leaf remains out of the water will be fine.
2 – Cut a few leaves with a good length of stem. Note that it is important to select healthy leaves for this exercise.
3 – Place the stems so that they are submerged in the water, ensuring that the leaves are not touching the water. It is important that the leaf doesn’t get wet otherwise it could rot in the water.
4 – Change the water every two to three days.
5 – Once the leaves have a good root system, you can plant them in pots.
6 – Water and wait for new growth.

The advantage of this approach is that you can see when the plant has rooted. If you propagate via soil, you only know that the propagation attempt has been successful when you start to see new growth.
I didn’t notice a difference in the amount of time for each approach to achieve new growth, therefore you can use whichever one you are the most comfortable with.
I hope that you found these walkthroughs to be useful.
You can find propagation steps for other plants on my website.
Come grow with me!!